 All-terrain turns putting a pucker in your posterior? Here are our 7 basic commandments of motorcycle cornering to give you confidence in the curves.
Maybe you're brand spankin' new to off-road riding. Maybe you've been dipping a toe in for years but just can't seem to find your footing. Whatever your angle, we've got the same advice for riders of any background looking to hone their all-terrain motorcycle cornering skills: Get back to the basics.
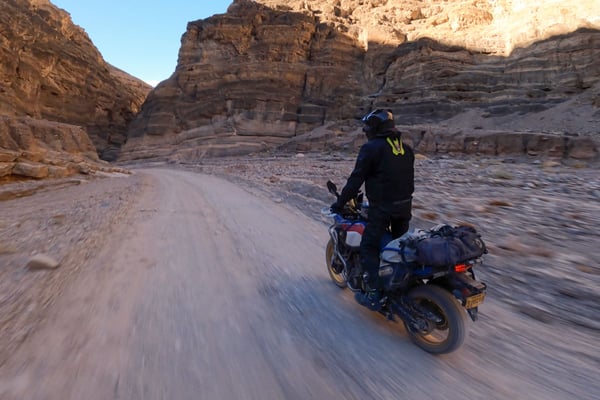
"At some point, the road is gonna turn. A few basic techniques are all you need to go with the flow."
Cornering is one of the major fundamentals we teach in our adventure riding training courses, and it's arguably the most impactful skill you'll ever learn for navigating off-road terrain. If you're having trouble keeping up with the group (or just keeping your bike upright), here are the seven most important aspects of motorcycle corning you need to commit to memory.
1. Countersteering and Setup
One of the reoccurring themes we hear from new riders in our offroad training classes is how much sketchier cornering on dirt or gravel feels compared to the paved turns they're used to. Nailing the setup going into a turn plays a major role in cornering confidence, so we'll start there.
Setup refers to everything that happens before you actually begin to lean the bike over into the corner. Interestingly enough, motorcycle cornering setup for dirt turns is more similar to street riding than you might think.
-1.jpg?width=580&height=327&name=eric%20with%20riders%20for%20rideadv%20training%20(Custom)-1.jpg) "Eric explains the finer points of off-road setup to a RideADV class."
"Eric explains the finer points of off-road setup to a RideADV class."
Just like pavement, it all starts with countersteering: Pushing on the bar with your inside hand and pulling with your outside hand. Our goal here is also identical to a pavement turn: Getting the chassis to "settle" into a stable geometry as it approaches the apex.
For offroad corners, the most stable approach is to have your back wheel slightly off-center from the front, with a bias toward the outside of the corner.
Whether that's a minor bias for stability's sake or a big flat-track style slide for fun will depend on your intentions and skill level, but it all starts with stabilizing the chassis through countersteering.
Keep your arms bent, get your elbows up, and don't be afraid to apply a bit more pressure than you're used to.
2. Lean Your Bike, Not Your Body
The second big picture concept for motorcycle cornering in the dirt is that "leaning into a turn" means leaning your motorcycle, but not your body.
Our goal here is to keep as much of our body weight directly over the contact patch of our tires as possible to maximize whatever traction is available.
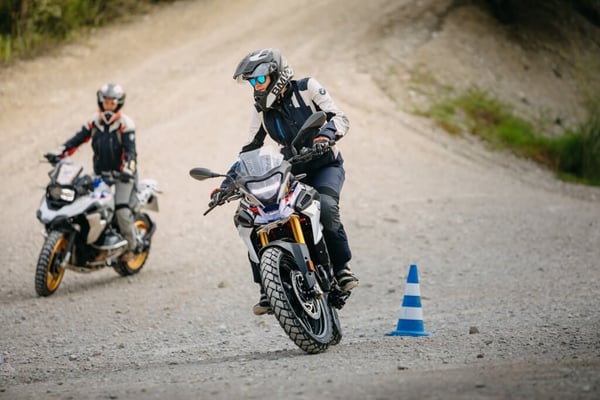 "Maintaining traction and control: The bike leans, your body doesn't."
This can feel particularly foreign to first-time dirt riders, as they're typically used to simply leaning with the bike from the normal seated position, or physically leaning off the bike toward the inside of the corner in the case of some sportier machines.
While there are some rare exceptions to the rule here (riding around berms or ruts, for example), this technique applies to about 99.9% of the corners you encounter on your typical adventure tour.
3. Body Position Is Paramount When Cornering on a Motorcycle
Another big piece of the motorcycle cornering puzzle we teach is the importance of body position for stability. Keeping your body on top of the bike as you lean it over is a big part of this, but there's a bit more to it than that as well.
We tend to describe the ideal body position as "on top, outside, and up front." What we mean here is that your body is over the top of the bike as described above, your hips/butt are off the bike toward the outside of the corner, and your body weight is biased toward the front of the bike.
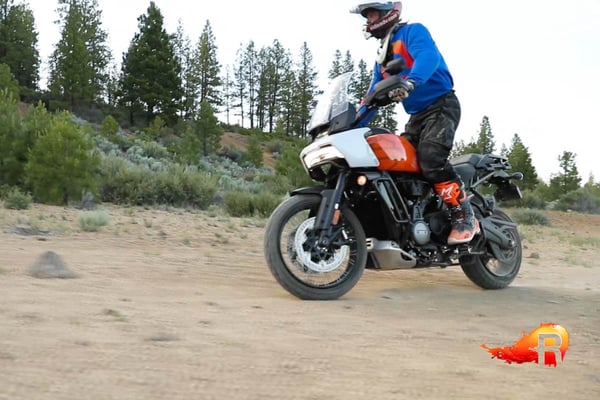
"Knees bent, elbows bent, body forward and over the bike. That's the ticket."
If you're in the standing position, this means your legs are bent, your knees are gripping the bike and your butt is hanging out in the air off the side of the bike.
This position adds traction to the front tire, allows the bike to move more freely underneath you, and allows you to shift your weight between the footpegs more easily.
When you're taking a corner sitting down, the position is still largely the same, except instead of your butt hovering up and over the bike, you're simply sitting as far forward on the seat as possible ("put your crotch on the tank" is a popular coaching recommendation) while also hanging one of your cheeks off the outside of the seat.
4. Sitting v. Standing While Motorcycle Cornering
While we're talking about the differences between motorcycle cornering from the seated v. standing position, let's discuss which you should use and why.
In our classes, you'll learn that taking corners from the standing position is almost always preferable, especially when you're first starting out. Standing up on the pegs allows you to move your body weight around the bike more easily, allows your legs to absorb more impact without upsetting the chassis, and also makes a much more effective way to weigh your footpegs during corner entry and exit.
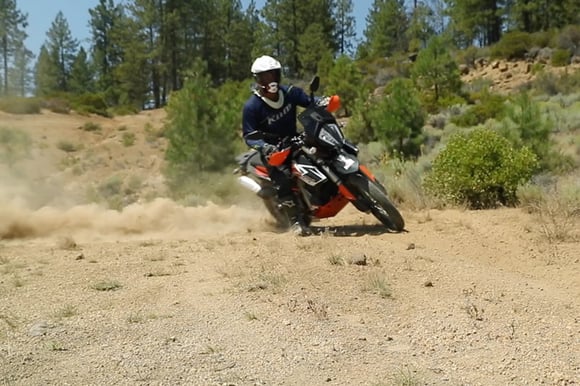 "Standing is the best way to ride most off-road corners, but sharper bends can benefit from a seated position."
As your skills progress, you'll start to get a feel for which corners benefit from a seated position rather than a standing one, but as a general rule of thumb, the only time sitting is advantageous is when a corner is very sharp (think 90 degrees or more), and even then, you'll still want to set up for the corner starting from the standing position.
The main caveat we'll throw in here is that over the course of a long day of adventure riding, repeatedly switching between sitting and standing takes a toll on your body, and sitting down is the only way to give those legs a rest.
There's no harm or shame in staying seated for the entirety of a mellow dirt or gravel road, especially if it's well-maintained and free of big bumps/ruts/washouts etc.
5. Weighing the Footpegs
Before we get too far off the topic of body position and moving around on the bike, learning how to properly weigh your footpegs around a corner goes a long way toward building confidence.
The formula here is simple: Weight the inside peg going in, and the outside peg going out.
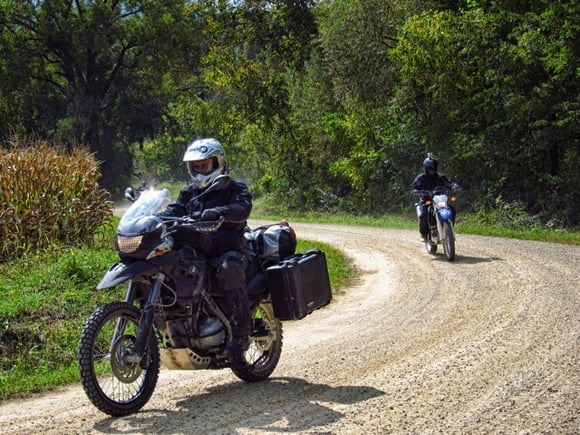
"Your inside peg starts the turn, but your outside peg finishes it."
We want to weigh the inside peg as we're setting up the turn/approaching the apex, because this helps encourage the rear end to settle into that ideal "outside offset" we described above.
Were you to weigh the outside peg during setup instead, you'd be making it more difficult (if not impossible) for the bike to settle into a stable position, which creates that feeling of the bike "not wanting to turn."
We switch to the outside peg as we transition from the apex to the corner exit to encourage the bike to "stand up" under acceleration.
This shifting of weight encourages the rear tire to come back in line with the front, and also transfers more force into the tire's contact patch to curtail any sliding that may have incurred (accidentally or otherwise) during the entry process.
6. Getting Comfortable With Hard Braking
Another crucial part of motorcycle cornering that we teach is braking. Knowing how to slow down is a big part of building confidence and speed on dirt and gravel roads, and considering the fact that braking is an integral part of setting up for a corner in the first place, it's something we always spend time drilling on.
Braking ability and feel differ significantly between different makes and models of motorcycle, but the core concept we teach here is the same: You want to practice both front and rear braking until finding the limits of both becomes second nature.
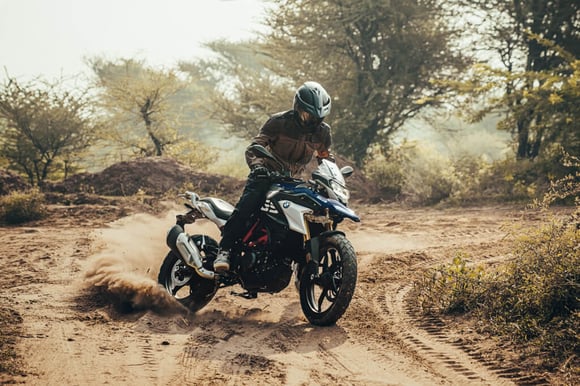
"Extra pressure at the rear brake can help shed speed and tighten up a turn."
Granted, most adventure riders aren't looking to race down dirt roads at full speed, and there's more to motorcycle cornering than simply doing it as fast as you possibly can.
With that being said, practicing hard braking comes in handy anytime we accidentally come into a corner too hot, and learning to intentionally lock up the rear wheel can be a great way to shed some extra speed and "tighten up" our trajectory going into sharper bends.
7. Falling Down Is Part of Learning
Last but not least, let's talk about that one thing you're probably not doing enough when practicing motorcycle cornering: Falling down.
Look, we get it: No one wants to crash their bike, and even at lower speeds, dropping a bike can be painful in more ways than one. With that being said, making mistakes is just part of the learning process, and laying a motorcycle down is a valuable learning opportunity.
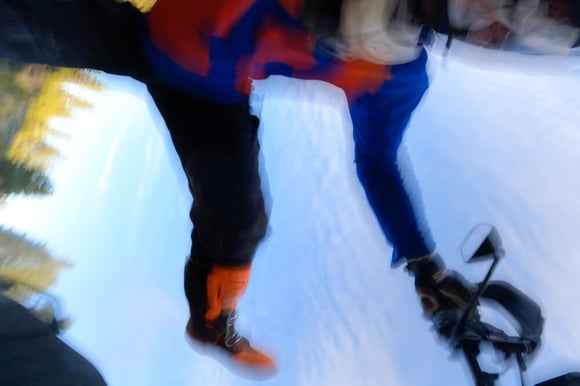
"Eric takes one for the team to show just how graceful dropping the bike can be."
Did you brake too hard? Did you weigh the pegs incorrectly? Did you give the bike too much throttle exiting the turn?
These are all important limits to learn and understand, and occasionally dropping your bike is just part of the process. We're not saying you should go out and eat dirt on purpose every weekend, but we wouldn't waste too much time and energy worrying about it either: The pros do it all the time.
Final Thoughts on Motorcycle Cornering
While the tips above are by no means comprehensive, these are the basics that apply almost universally to motorcycle cornering in the dirt, regardless of the type or size of bike you ride.
Our best advice is to take each of these concepts and practice them in a large open area, and then move them out into the real world with a few well-maintained dirt corners as you get a feel for the basics. You'll get faster, and those turns will get easier, but these core techniques will never change.
→Read More: 6 Parking a Motorcycle: 6 Rookie Mistakes and Street & ADV Motorcycle Training.


